Add an image to an item on the Saved tab
You can display an image with a saved row, column, or module on the Saved tab in the Content panel.
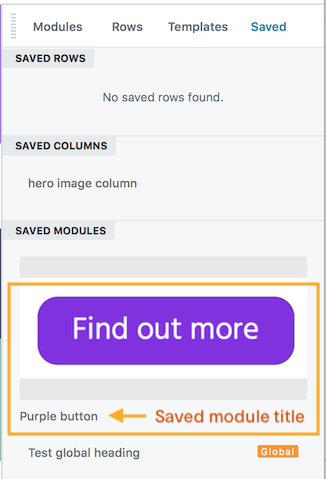
The image comes from the featured image set for the saved item. It fits the width of the pane on the Saved tab, with a width-to-height ratio of 2:1. The item's title is displayed below the image. In the following screenshot, the saved module called "Purple button" is displayed with its featured image, which was created by taking a screenshot of the module.
Recommended minimum image size is 300px by 150px.
To add a featured image to a saved row, column, or module:
Create a saved row, column, or module in the usual fashion.
In the WordPress admin panel, expand the Lime Editor menu, then choose Saved rows , Saved columns , or Saved modules as appropriate.
If you can't see the Lime Editor menu in the WordPress admin panel, see this article on enabling it.Mouse over the saved item and click Edit.
In the right pane, click Set featured image and choose the image you want to show from the Media Library.
Click Update.